Compare the source file with the print. When the file is clean but the output fills in, use the model’s recommended settings and lower darkness incrementally.
The goal is legible text and distinct barcode elements, not the blackest possible label. A dark-looking screen preview, an enlarged screenshot, and excessive printer density can all produce muddy output through different routes.
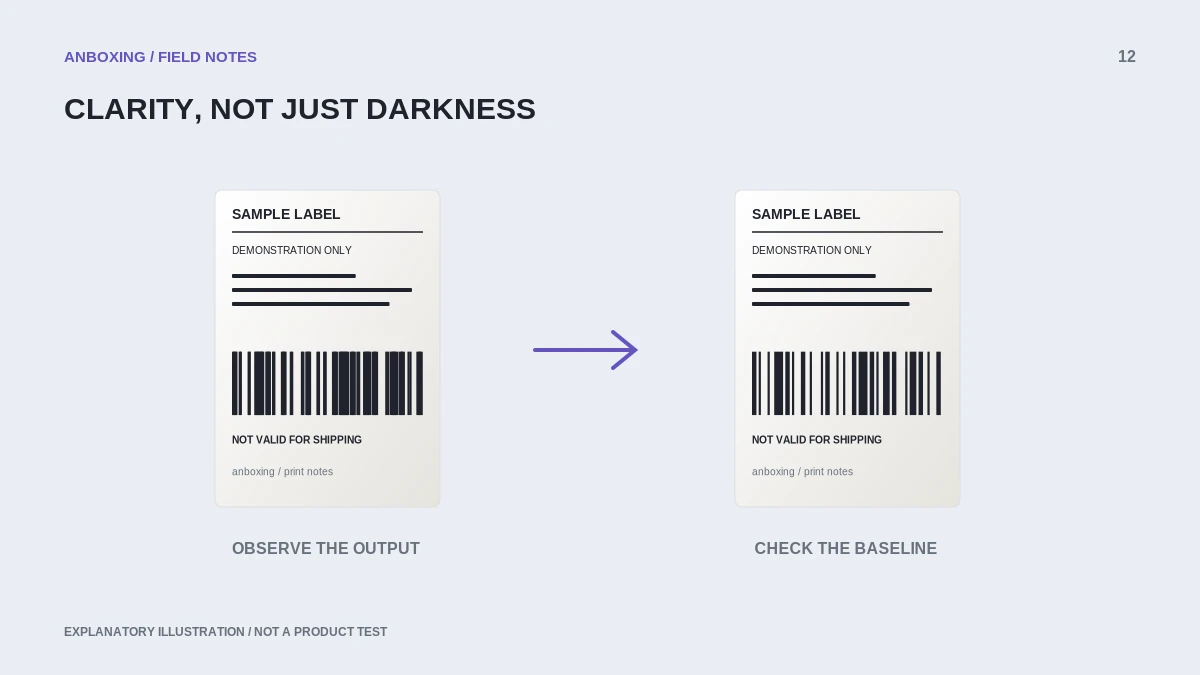
Inspect the source before changing heat
Open the original PDF and zoom in. Check whether narrow white gaps and small letters are already missing or fuzzy. If the source is poor, return to the shipping platform and download the proper document. Darkness cannot restore detail absent from the file.
Compare the printed label with a known-good sample generated for the same stock size. A screenshot or rescaled image may require a document fix rather than a printer adjustment.
Adjust one setting at a time
Rollo explains that labels respond differently to heat and that too much density can make stock stick during dense areas. Its instructions differ between USB and wireless models, which is a useful reason not to copy a universal darkness number from another printer.
Rollo: labels stick or stop during printing
- Record the current stock, speed, darkness, and application settings.
- Return to the manufacturer’s baseline for the exact model and media when known.
- Print one small original test document. Do not send a batch while experimenting.
- Reduce darkness by one available step and compare the same text and barcode area.
- Change speed only as the model guidance recommends, and keep other variables fixed during that comparison.
- Save the lowest appropriate setting that produces clear, complete output in your documented workflow.
Match the symptom to the next check
| Appearance | Next check |
|---|---|
| All text and bars look thick | Density, source artwork, and scaling. |
| A repeated dark streak in one position | Model-approved cleaning and inspection. |
| Label sticks at a heavy black area | Density guidance for the stock and model. |
| Source PDF itself has merged details | Regenerate the document rather than increasing resolution settings. |
Use a controlled test label when evaluating your own barcode artwork. A phone recognizing one barcode once is not a formal verification of production print quality.
Stop when the issue is not a setting
Allow the printer to cool before any maintenance, disconnect power when the model instructions require it, and use only approved cleaning materials. Do not scrape the head, spray solvent into the printer, or open components that the user guide does not designate for maintenance.
If the defect remains in the same location across clean source files and supported stock after approved cleaning, contact the manufacturer. Provide redacted sample output and the recorded settings. That is more useful than continuing to increase heat or replacing labels at random.
Common questions
Should every brand use the same darkness setting?
No. Setting scales, materials, and print systems differ. Follow the exact model’s guidance.
Can a higher-resolution screenshot fix dark barcodes?
It cannot reliably restore information already lost. Start with the original label document.
Sources & scope
Source-based editorial guide. Primary references checked September 9, 2026. Diagnostic sequences and comparisons are editorial guidance, not results of hands-on product tests. Confirm current instructions and compatibility for your exact model.