Use the exact model’s maintenance instructions. Power down as directed, let the print head cool, and use only the specified cleaning method.
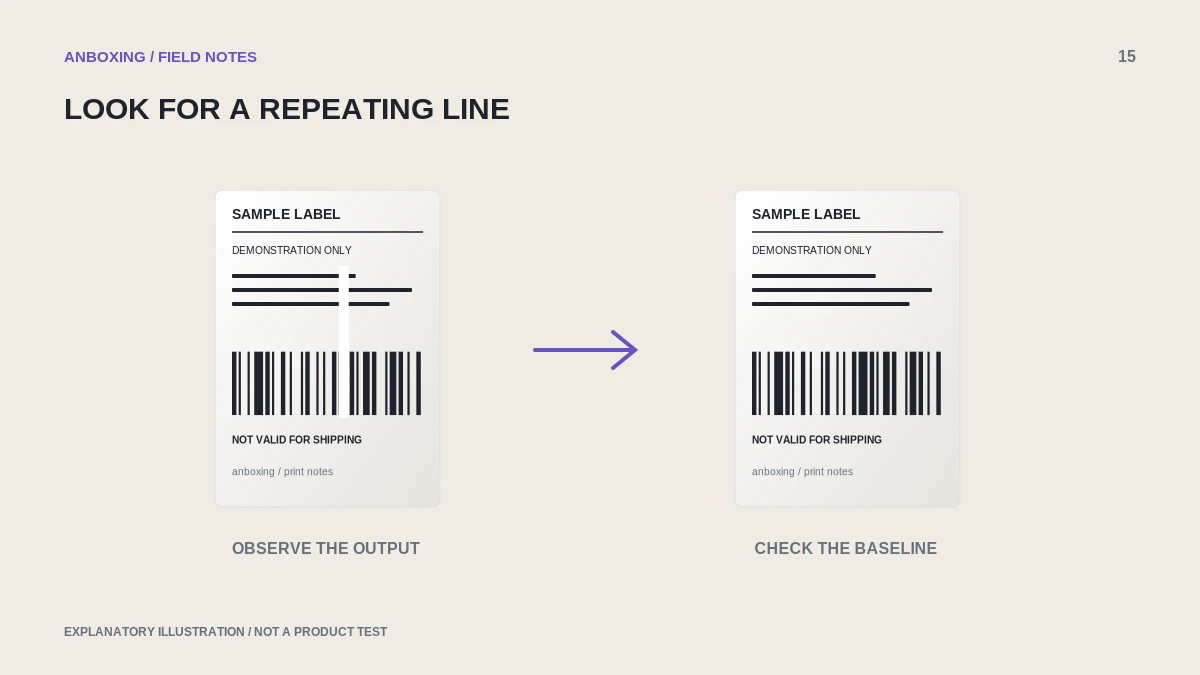
Cleaning is a targeted maintenance step, not a reason to dismantle a printer. A line in the same place on every label may justify checking the approved cleaning procedure; a badly sized PDF usually does not.
Decide whether cleaning fits the symptom
| Symptom | First comparison |
|---|---|
| Same pale line on different documents | Approved print-head cleaning and a repeat test. |
| Labels drag or feed irregularly | Stock path, guides, debris, and approved roller maintenance. |
| Entire output is too small | Paper size and document scaling. |
| Computer cannot find the printer | Connection and queue, not print-head cleaning. |
Keep one defective label and the exact source file. After maintenance, print the same file so the comparison is meaningful.
Prepare the printer safely
The Rollo USB user guide calls for power disconnection, a cooled print head, an alcohol swab for that model, and complete evaporation before restarting. It also warns against scratching the head and using inappropriate solvents. These instructions should not be generalized into a solvent recipe for every printer.
Rollo: USB model user guide and maintenance precautions
- Identify the model and locate its maintenance section. Check whether the head, roller, and sensors use different approved methods.
- Stop pending print jobs and remove power as instructed. Wait for the head to cool before touching an approved access area.
- Remove the media only as the loading instructions permit. Keep adhesive and loose liner away from internal parts.
- Use the manufacturer-approved swab, wipe, or cleaning material. Apply it as directed rather than spraying fluid into the housing.
- Leave the printer open for any specified drying period. Reconnect only after the area is dry and correctly reassembled.
Avoid an expensive shortcut
Do not use metal blades, abrasive pads, household spray cleaner, or a fingernail to scrape the print head. If adhesive or damaged stock cannot be removed using the documented user-maintenance method, stop and ask support. A stubborn mark is not permission to increase pressure.
Keep printer cleaning separate from cleaning the printed label. A solvent acceptable for a specified printer component can damage the label image or adhesive. Different surfaces have different compatibility requirements.
Test and record the result
- Reload supported stock and close the cover fully.
- Run media learning only when the model instructions or a stock change call for it.
- Print the saved test file once. Compare the defect position with the earlier sample.
- Check a second document to distinguish a persistent hardware-area defect from a feature of the source artwork.
- Record the date, symptom, material, and outcome. Use the manufacturer’s maintenance schedule rather than an arbitrary universal interval.
If the defect remains, share the before-and-after samples with support with personal information removed. Avoid repeated aggressive cleaning; an unresolved defect may need professional service rather than more solvent.
Common questions
Can I use the same cleaner on every thermal printer?
No. Follow the specific model and component instructions.
Should I clean a hot head immediately after printing?
No. Follow the required shutdown and cooling steps first.
Sources & scope
Source-based editorial guide. Primary references checked September 9, 2026. Diagnostic sequences and comparisons are editorial guidance, not results of hands-on product tests. Confirm current instructions and compatibility for your exact model.