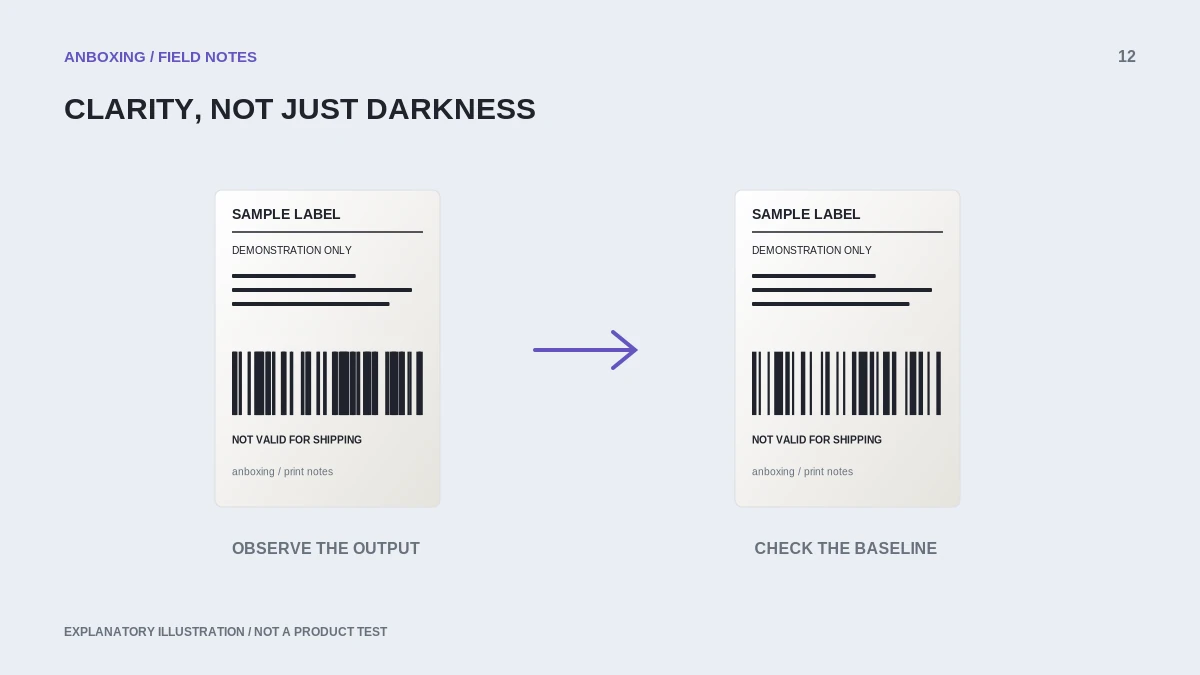
Use the original label file and compare it with a known-good sample. Then change one print variable at a time; darker output is not automatically a clearer barcode.
A barcode can look dark while its narrow spaces have become difficult to distinguish. It can also look reasonably clean on screen but print poorly after a low-quality image export. Work from the document toward the printer, preserving the original proportions and required surrounding space.
Begin with the original document
Rollo’s barcode guidance recommends comparing an official sample and inspecting page size, stock, and print settings. That comparison helps isolate a source-file problem from a problem that affects every job.
Download the original label rather than photographing a screen or enlarging a thumbnail. Keep the source file unchanged for the first test. A series of resized screenshots is not a reliable reference for what the shipping platform intended to print.
Describe the defect precisely
| Defect | Useful check |
|---|---|
| Bars look swollen and spaces close up | Reduce excessive darkness according to model guidance; compare one step at a time. |
| Fine bars are pale or broken | Compare supported stock, source quality, and maintenance guidance. |
| Every barcode is much smaller than intended | Check document size, scaling, and any resolution-dependent template. |
| A white stripe crosses the same area | Inspect the white-lines workflow and model-approved cleaning instructions. |
Do not change speed and darkness together on the first attempt. Record both starting values and keep the same file and stock while making a comparison.
Use a small test record
- Print the known-good sample with current settings and label it Test A.
- Change only one manufacturer-supported setting and print Test B.
- Compare the barcode edges, fine text, and blank spaces, not only overall darkness.
- Return to the previous setting if the result is worse.
- Test the original shipping file after a successful sample result.
- Retain the successful preset and discard or clearly mark invalid test labels so they are not used for shipping.
Higher DPI is not a repair for every problem
Resolution is a separate specification from speed and darkness. Increasing a darkness value cannot turn a 203-dpi printhead into a 300-dpi one. A different printer also cannot restore information already lost in a low-quality screenshot. Use the original document and suitable dimensions first.
When designing your own inventory labels, account for the intended printer’s resolution and barcode requirements. Do not shrink a carrier-provided barcode to make room for branding. Use the DPI comparison before paying for a hardware upgrade.
Know what a scan does and does not prove
A phone app successfully decoding a barcode is only a limited spot check, not a formal print-quality grade or a guarantee of carrier acceptance. For operationally important barcodes, use the applicable carrier or barcode standard and appropriate verification process. If the output remains visibly defective, resolve it before shipping.
Common questions
Should I set darkness to the maximum?
No. Excessive heat can worsen the output on some stocks. Follow model guidance and make controlled, reversible changes.
Can reducing speed change the printer's native DPI?
No. Speed adjustments can affect print quality, but native printhead resolution remains a hardware specification.
Sources & scope
Source-based editorial guide. Official documentation checked September 6, 2026. No hands-on product testing is claimed. Interfaces and compatibility can change; use the current instructions for your exact model.
- Rollo: barcode print quality
- Rollo: labels are not dark enough
- Zebra: resolution and label dimensions
Illustrations explain a workflow or concept and are not evidence of product testing. Read the label-printer editorial policy.