Find out whether information is missing in the source, the print preview, or only on paper. Then correct that layer without shrinking or cropping away required shipping details.
A label can be upright and readable while still missing the last address line or part of a routing barcode. Treat a missing edge as a failed print, not a cosmetic issue. This diagnostic sequence separates file layout from print settings and physical media alignment.
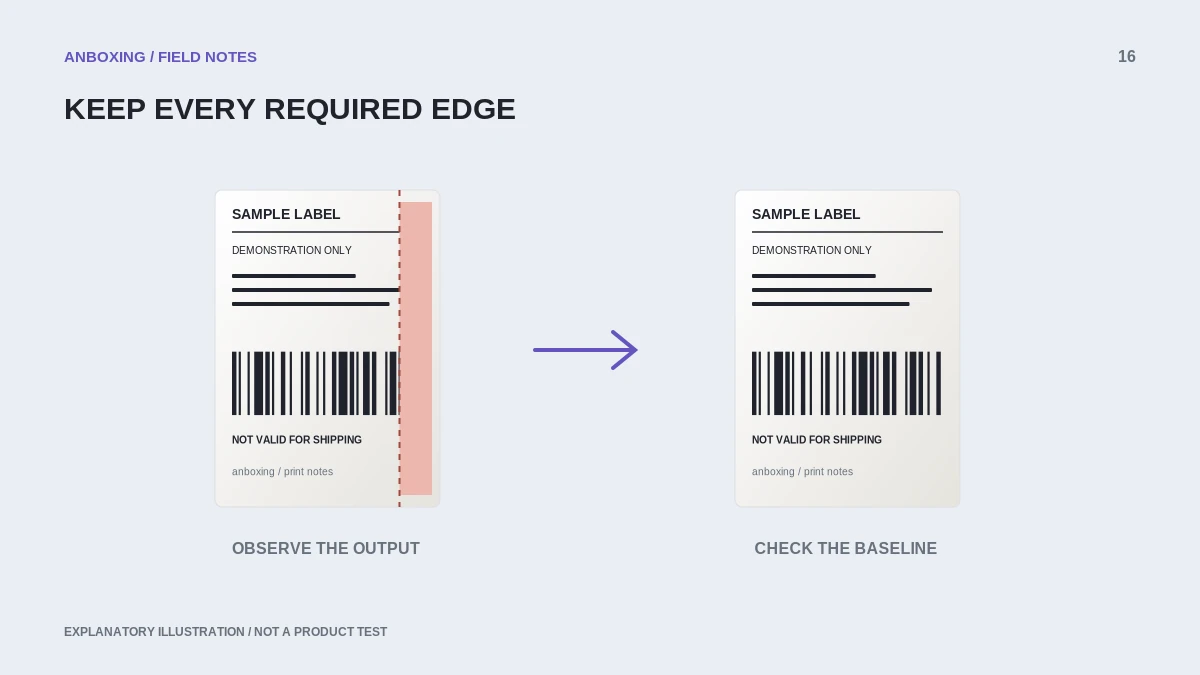
Find the first place content disappears
| Where the edge is missing | Start here |
|---|---|
| Original document itself | Regenerate the document from the shipping platform. |
| Original is complete, preview is clipped | Selected media, scale, orientation, or application margins. |
| Preview is complete, paper is clipped | Actual stock dimensions, offsets, alignment, and model guidance. |
| First label fits but later ones drift | Page length and media-feed consistency. |
Compare the complete source document, not only the section that happens to be visible in the current preview. Required content may sit close to an edge.
Measure the physical stock
Read the packaging and measure a single label face if necessary. A true 4 x 6 inch label measures 101.6 x 152.4 mm, not exactly 100 x 150 mm. These dimensions are a unit conversion, not a claim that one preset is universally accepted by every printer.
Choose the stock and driver option supported by the model, then verify the resulting print. Also distinguish the label face from the liner width. Side guides and printable width can matter even when the roll is sold under a familiar size name.
Remove accidental layout changes
- Save the original document and record current settings.
- Obtain the platform’s native label-sized file where supported.
- Match the media size and inspect orientation.
- Review scaling, margins, and position offsets; change one setting at a time.
- Print one test, keeping all required content and barcode space intact.
- If clipping persists only on paper, check loading and the model’s adjustment guidance.
Know when not to crop
Do not crop a carrier label to make room for a logo, remove a routing block, or squeeze several labels onto unsuitable stock. A platform-generated document may also contain customs or accompanying pages that need different handling. Identify those separately rather than shrinking everything onto one thermal label.
For your own product labels, create the design at the intended dimensions and leave appropriate space for the printer’s actual printable area. Do not assume a border that reaches the edge on screen can print edge-to-edge on every device.
Check a small batch before a large one
After a successful first label, test a few sequential non-postage samples to check alignment over multiple pages. Inspect the bottom and side edges on each. Save the successful preset only when the result is stable, then review the first real shipment against the order.
Persistent clipping with a verified complete file, correct media, and a proper preview needs model-specific support. Share a redacted preview and a non-sensitive paper sample to show where the discrepancy appears.
Common questions
Will choosing Fit always prevent clipping?
It may change the size, but it is not a universal solution. Use the supported source format and verify that all content remains complete and undistorted.
Why is only the bottom missing?
Compare page length, actual stock, orientation, and feed behavior. The location of the missing edge is evidence, not a unique diagnosis.
Sources & scope
Source-based editorial guide. Official documentation checked September 6, 2026. No hands-on product testing is claimed. Interfaces and compatibility can change; use the current instructions for your exact model.
- Rollo: sideways labels, updated July 2026
- Shopify: printing shipping documents
- MUNBYN: label printing too small
Illustrations explain a workflow or concept and are not evidence of product testing. Read the label-printer editorial policy.