True 4 x 6 inches equals 101.6 x 152.4 mm. A 100 x 150 mm label is 1.6 mm narrower and 2.4 mm shorter. Match the actual stock rather than relying on a rounded product name.
These sizes are often discussed as though they are identical, but the measurements are different. That small difference may be invisible in a product photograph and still matter when content sits near an edge. This is a geometry and workflow guide, not a guarantee that a specific preset will work on every printer.
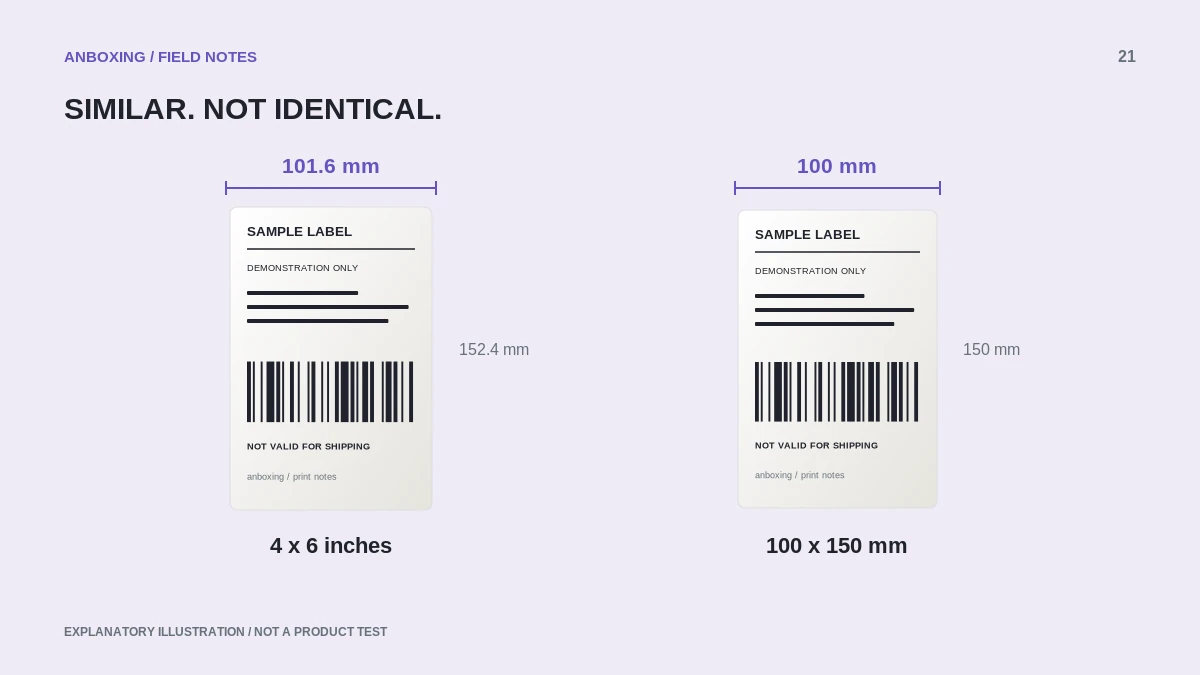
The exact conversion
| Size | Width | Height |
|---|---|---|
| 4 x 6 inches | 101.6 mm | 152.4 mm |
| 100 x 150 mm | 100 mm | 150 mm |
| Difference | 1.6 mm | 2.4 mm |
The calculation uses 25.4 millimeters per inch: 4 multiplied by 25.4 is 101.6, and 6 multiplied by 25.4 is 152.4. Rotating the label swaps width and height; it does not remove the difference.
Compare three things separately
- Read the stock packaging and, if necessary, measure the label face.
- Inspect the source document’s actual page dimensions.
- Check the paper size selected in the printer app or driver.
A preset name such as Shipping or 4×6 may conceal a rounded metric definition. Read the numeric dimensions when the software exposes them. Also distinguish the label face from the backing liner and the printer’s printable area.
When the mismatch deserves attention
If the whole document has ample space around its content, a small difference may not be obvious in a single visual test. But you should still use the size supported by the actual stock and printer. A clipped bottom line, cropped border, or repeated feed drift is a reason to investigate the dimensions, not to stretch the barcode.
| Symptom | Additional checks |
|---|---|
| Bottom is clipped | Page height, scale, margins, and printable area. |
| Side content is missing | Width, alignment, and horizontal offset. |
| Extra blank appears | Sent page length, page count, and media detection. |
| Output is tiny | Source may be an office page rather than a label page. |
Do not convert a mismatch into barcode distortion
Avoid independently stretching width and height to fill the stock. Preserve the original document proportions and required barcode space. For carrier labels, prefer the platform’s supported document format and the printer maker’s media guidance. Verify the entire result instead of judging by how much white space disappears.
For your own product labels, create the template for the intended stock and printer. Keep a test sheet showing measured output, especially when moving a design to a printer with a different resolution.
A practical preset-naming convention
Use descriptive names that state the actual media: for example, Shipping 101.6 x 152.4 mm or Stock 100 x 150 mm. These are examples of your own names, not commands to find in a driver. Save a screenshot of the numeric settings with the stock SKU.
When the same printer serves multiple applications, check each app after a stock change. A correct operating-system default does not prove a PDF viewer or mobile app is using it.
Common questions
Is it always wrong to use a 100 x 150 preset with labels sold as 4 x 6?
Verify the actual stock and the manufacturer’s supported workflow. Product naming can be rounded, so the physical and documented dimensions matter more than the label on a preset.
Does this small difference explain every cut-off print?
No. Scaling, offsets, orientation, source format, and feed can also matter. Use the measurements to eliminate one variable, not to assume a diagnosis.
Sources & scope
Source-based editorial guide. Official documentation checked September 6, 2026. No hands-on product testing is claimed. Interfaces and compatibility can change; use the current instructions for your exact model.
- Rollo: skipping labels or continuously feeding
- Rollo: supported label width
- Zebra: resolution and label dimensions
Illustrations explain a workflow or concept and are not evidence of product testing. Read the label-printer editorial policy.