Start with the exact model and connection method. Prove that the printer can feed and print a test label before introducing your shipping platform.
A new printer has three separate jobs to get right: moving the label, receiving the document, and printing it at the intended size. Testing all three at once makes a simple problem unnecessarily hard to identify. This first-use checklist keeps those jobs separate, so you know what to change when something goes wrong.
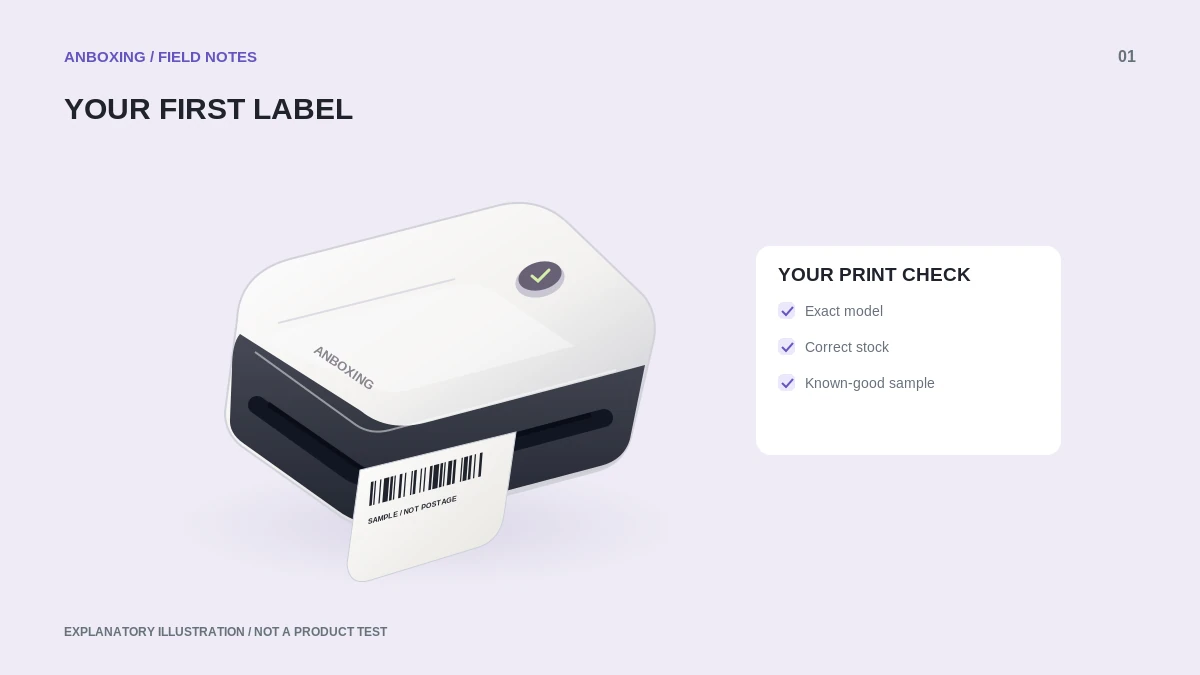
Before you plug everything in
Photograph the model label and keep the power adapter with the printer it came with. A product family name is not enough: a USB version and a Bluetooth version can look similar. Write down the model, operating system, connection method, label dimensions, and shipping platform. These five details also make a later support request much more useful.
Check the manufacturer’s current installation sequence before connecting USB; some installers ask you to connect during setup. Download software from the manufacturer or operating-system provider, not an advertisement offering a universal driver updater.
A clean first-print sequence
- Place the printer on a stable surface with an unobstructed path for labels entering and leaving. Keep packing tape, loose liner, and cables away from that path.
- Confirm the stock is supported by this exact model. Direct-thermal and thermal-transfer supplies are not interchangeable just because the boxes both say thermal.
- Load the material as the model guide shows. Adjust the guides to keep it straight without squeezing the edges.
- Run the model’s media-learning or calibration routine if required. Do not copy a button-hold sequence from another brand.
- Install the supported connection and print the manufacturer’s sample document. A blank feed is not the same as a successful printed test.
- Generate one real label in your platform’s label-printer format. Match the physical media size in the application and print dialog; inspect the complete preview.
- Print one order, compare it to the screen, and only then send a batch.
Read the result instead of repeating the job
| What happened | What to investigate next |
|---|---|
| Nothing moves | Power, connection, and the selected printer queue. |
| A blank label advances | Media type, loading direction, and the printer’s own test output. |
| The test is good but the order is tiny | The downloaded document size and print scaling. |
| The first label is good, later ones drift | Media detection, physical feed, and the job’s page length. |
Save the first successful file and note the settings used. It becomes your baseline: next time printing fails, retry that known-good combination before changing the entire setup.
A practical acceptance check
Before treating setup as complete, check that every address line, barcode, and required service mark is visible. Compare the recipient to the order, look for cut-off edges, and make sure the label adheres smoothly. A printer can be connected correctly while the document is still unsuitable to send.
Name a saved preset after its actual purpose, such as Shipping 4 x 6 USB, rather than Best. Use a separate preset for a different stock size. Keep your carrier documents separate from this non-postage setup test.
Common questions
Do I need a shipping subscription to test the printer?
No. A manufacturer test document checks printing without purchasing postage. Your eventual shipping platform may have its own account and label-purchase requirements.
Should I calibrate before every order?
Use the model instructions. Calibration is especially relevant when changing media; repeatedly recalibrating an otherwise working setup can waste stock without fixing a document problem.
Sources & scope
Source-based editorial guide. Official documentation checked September 6, 2026. No hands-on product testing is claimed. Interfaces and compatibility can change; use the current instructions for your exact model.
- Microsoft: current printer drivers
- Zebra: direct thermal versus thermal transfer
- Rollo: first-use USB setup
Illustrations explain a workflow or concept and are not evidence of product testing. Read the label-printer editorial policy.