Stop the job and follow the model’s power-off, cooling, and jam-clearance instructions. Do not pull against moving rollers or use sharp tools near the printhead.
A jam is a reason to pause, not to send another copy. Note whether the label folds at the entrance, catches at the exit, or stops under a dark printed area. Those observations help you choose the appropriate official procedure without dismantling the printer.
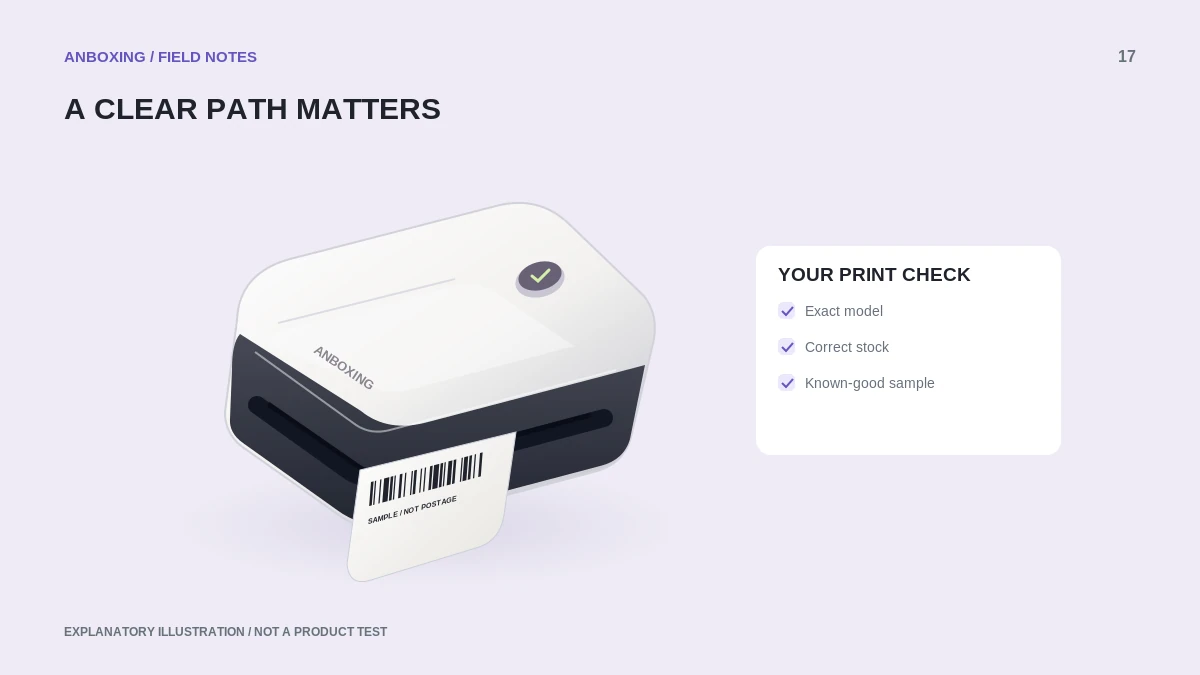
Stop safely and preserve the evidence
Cancel pending jobs so the printer does not resume unexpectedly. Follow its documented shutdown and cooling instructions. Keep fingers away from the moving path and hot components. If there is melted material, smoke, damaged wiring, or a burning smell, disconnect safely and arrange support rather than continuing a print test.
Photograph the accessible jam position before clearing it, using only non-sensitive material. Do not remove covers, screws, sensors, or safety components that the user guide does not identify as user-serviceable.
Check the accessible paper path
- Follow the exact model’s jam-clearance procedure.
- Remove only material that the instructions say is safe to remove. Do not use a knife or scrape the printhead.
- Inspect the entry and exit for leftover liner or loose adhesive, without applying unapproved cleaners.
- Reload supported stock in the documented direction.
- Set the guides to align the stock without squeezing it.
- Leave a straight, unobstructed route for incoming and outgoing labels.
- Run the documented feed test before sending another print job.
Distinguish feed resistance from print-related sticking
| Observation | Next investigation |
|---|---|
| Stock buckles before entering | Alignment, holder position, guides, and stock condition. |
| Label hits an object after printing | Exit clearance and accumulated labels. |
| Sticking repeats at a heavy dark area | Model-specific darkness and media guidance. |
| A damaged component or persistent obstruction is visible | Stop and contact service. |
Rollo documents a covered case where excessive print density can overheat stock and cause sticking. That does not mean every jam is solved by the same darkness value. Use the manufacturer’s settings for your model and material.
Resume with a small controlled test
Once the approved clearance is complete, test a simple known-good sample on supported media. Keep the original settings recorded, and make only the model-recommended adjustment. Inspect the complete output and feed path before returning to a batch.
Do not re-feed damaged, partly peeled, or adhesive-exposed stock simply to avoid wasting a label. Confirm with the manufacturer which unused labels can be reloaded safely. The cost of a small amount of stock is not a reason to risk the mechanism.
Reduce repeat incidents at the packing station
Give printed labels a clear landing area, keep tape scraps away from the entry, and separate cables from the moving liner. Check the holder after changing roll size. A tidy path is a practical control you can verify without modifying the machine.
Common questions
Should I pull the label while the printer feeds?
No. Stop and follow the model’s clearance instructions instead of pulling against a moving mechanism.
Can more darkness cause a jam?
Rollo documents heat-related sticking for some covered conditions. Other jams have different causes, so use the symptom and model guidance rather than a universal setting.
Sources & scope
Source-based editorial guide. Official documentation checked September 6, 2026. No hands-on product testing is claimed. Interfaces and compatibility can change; use the current instructions for your exact model.
Illustrations explain a workflow or concept and are not evidence of product testing. Read the label-printer editorial policy.